How to Steam Clean Curtains Without Taking Them Down
Removing heavy curtains, extracting dozens of metal hooks, transport, washing, ironing, and rehanging them can be an exhausting and time-consuming chore. Fortunately, you can achieve a fresh, clean look without taking them down. Steam cleaning is a highly efficient, professional-grade technique that sanitizes and refreshes hanging curtains in place. In this detailed guide, we explain how to steam clean your curtains safely and effectively.
1. Understand the Benefits of In-Place Steam Cleaning
Steam cleaning offers numerous advantages over traditional washing methods. By using hot water vapor, this method penetrates deep into the fabric weave to release trapped dust, airborne particulates, and household odours without saturated wetness. The high heat of the steam is also a powerful sanitizer, neutralising dust mites, mold spores, and bacteria that thrive in window cavities.
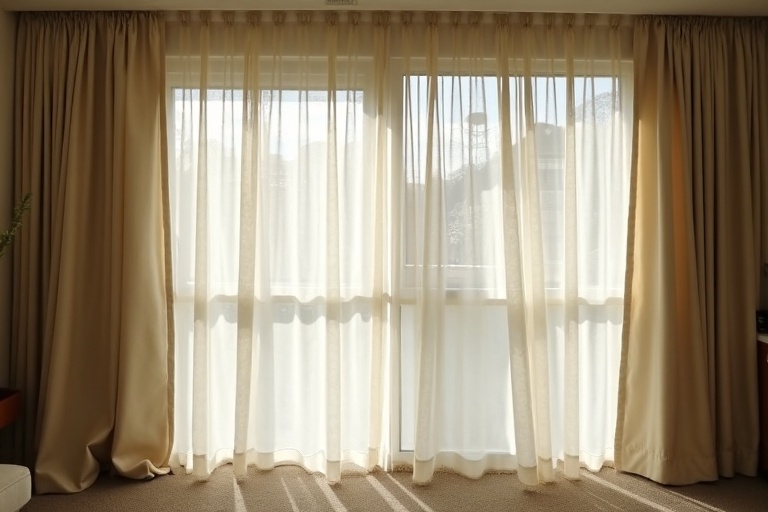
The primary benefit is efficiency. There is no need to dismantle your complex drapery setups, struggle with stubborn pleats, or spend hours ironing out heavy creases. Instead, the steam naturally relaxes the fabric fibers, smoothing out wrinkles as it cleans. This makes steam cleaning the perfect care method for heavy drapes, velvet panels, polyester drapes, and large floor-to-ceiling window coverings.
2. Perform a Crucial Fabric Compatibility Check
Before you plug in your steamer, you must verify that your curtain fabric can safely tolerate heat and moisture. While synthetic fibers like polyester and heavy nylon blends respond beautifully to steam, other fabrics can suffer severe, irreversible damage if exposed to direct heat.
For example, natural silk curtains can develop water spots and puckers, while delicate drapes can shrink or stretch out of shape. Most importantly, curtains with synthetic blackout linings or acrylic backing layers must never be steamed. The direct heat of the steamer can melt the backing material, causing it to peel off or fuse to itself, destroying the curtain panel. Always check the care label on your curtains, and perform a small test steam on a hidden section of the hem first to ensure there is no color change, shrinkage, or fabric distortion.
3. Step 1: Deep Vacuuming to Prep the Fabric
A common mistake homeowners make is steaming dusty curtains directly. When hot steam hits a thick layer of surface dust, it turns that dust into a muddy residue that seeps deep into the fabric fibers, leaving ugly streaks and stains. Therefore, a thorough vacuuming is an essential preparatory step.
Ensure your curtains are hanging straight. Use your vacuum cleaner's upholstery brush attachment on a low-suction setting. Work methodically from the very top pleats down to the bottom hem, vacuuming both the front and back of the panels. Pay extra attention to the top folds, headers, and seams where dust settles most heavily. If your vacuum suction is too strong, you can place a clean stocking over the nozzle to create a protective barrier that still allows dust extraction.
4. Step 2: Selecting and Preparing the Steamer
For curtain cleaning, an upright garment steamer with a long flexible hose or a high-quality handheld fabric steamer is the ideal tool. Avoid using industrial steam cleaners designed for carpets or hard floors, as their steam output is too wet and pressurized for delicate window fabrics.
Fill the steamer reservoir with clean water. Distilled water is highly recommended because it prevents mineral scale buildup inside the steamer mechanism, ensuring a clean, continuous steam flow without spitting mineral spots onto your fabric. Turn on the machine and allow it to reach full operating temperature. Let it spray steam into the air for a few seconds first to flush out any water droplets that have condensed inside the hose or nozzle.
Crucial Water Spitting Warning
Always hold the steamer nozzle slightly away from the fabric when starting. If the steamer spits hot water droplets instead of a dry mist, it can leave permanent water ring marks on delicate finishes. Keep the head moving continuously to prevent any single spot from becoming saturated with moisture.
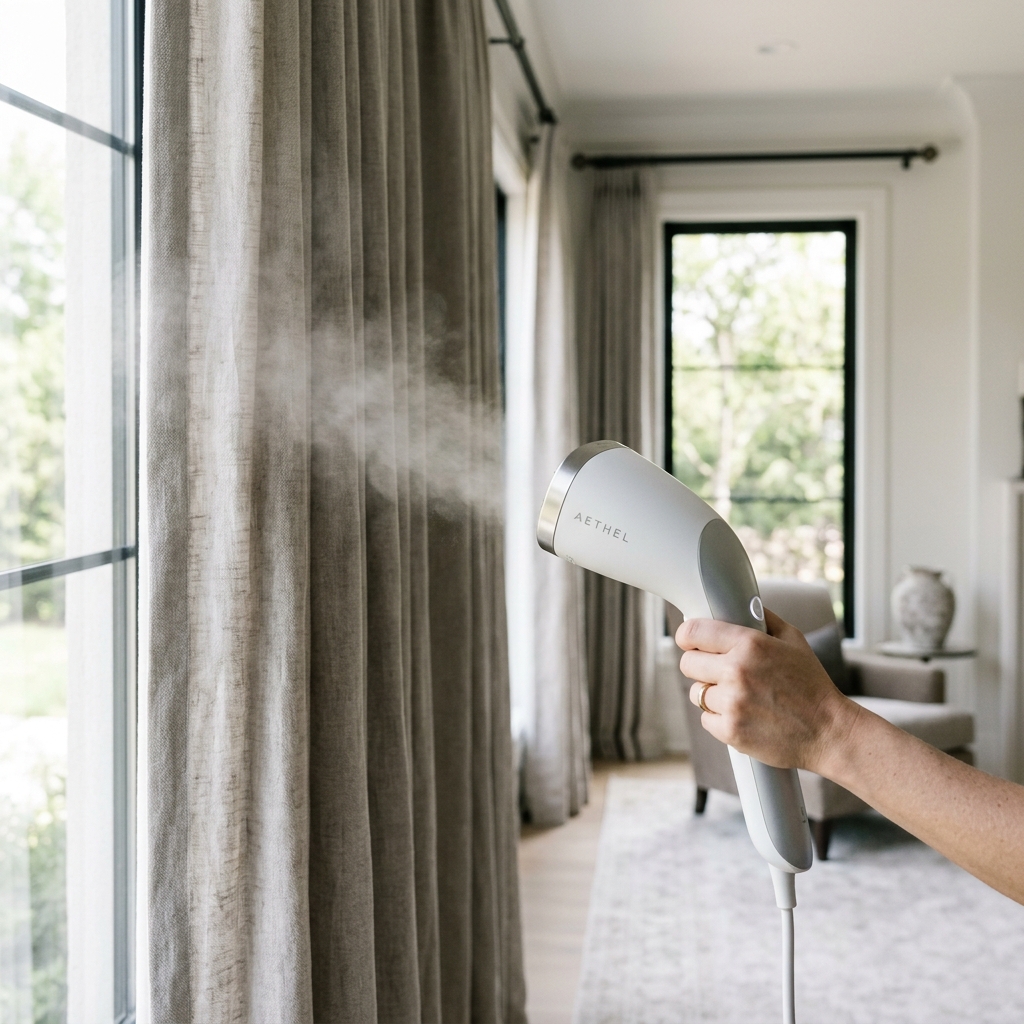
5. Step 3: Executing the Steaming Technique
Hold the steam head approximately five to ten centimeters away from the curtain surface. Begin at the top of the panel and work your way down in slow, sweeping vertical strokes. Keep the steam moving continuously; never hold the nozzle in one position for more than a second, as this can over-saturate the fabric and cause structural warping.
As you apply the steam, gently pull the bottom hem of the curtain taut with your free hand. This tension helps the steam relax the fibers, smoothing out wrinkles and creases instantly. For double-layered curtains or lined panels, steam the front fabric first, then access the back lining separately if the material allows, keeping the steamer head at the recommended distance at all times.
6. Step 4: Maintenance of Your Steaming Equipment
To ensure your steamer performs at its best and does not cause accidental staining on your curtains, regular maintenance is required. Over time, tap water leaves calcium and mineral scale deposits inside the steam chamber and nozzle holes. If these deposits accumulate, they can clog the steam vents, resulting in uneven pressure, sputtering hot water, or even spitting chalky mineral flakes onto your drapery.
Perform a simple descaling process once every few months. Fill the water reservoir with a solution of equal parts white distilled vinegar and distilled water. Turn the steamer on and let it run until half the mixture has evaporated into steam. Turn the unit off, allow it to cool completely, and empty the remaining liquid. Flush the system thoroughly with clean distilled water before using it on your curtains. This maintenance keeps your steamer in top shape, providing clean, pressurized dry vapor that protects your window treatments.
7. Step 5: Aeration and Post-Steam Drying
Once you have finished steaming the entire curtain panel, the fabric will feel slightly damp to the touch. It is crucial to allow the curtains to dry completely while hanging to prevent the growth of mold or mildew. Open the windows to increase fresh air circulation, and turn on ceiling fans or a portable fan to accelerate the drying process. Do not pull the curtains closed or gather them together; keep them spread flat across the rods so air can circulate freely around both sides of the panel. This in-place care keeps your drapes looking fresh, clean, and elegant with minimal hassle.